
概要
Flutter と Firebase を連携し、Firestore へデータを書き込む。
Firebase との連携は涙を流しながらマニュアルで行った。
ブログ内でキーや ID を容赦なくスクショで晒しているが、本来はダメ。自分は検証完了したら削除してる。
環境
- Flutter 2.10.2
- firebase_core 1.13.1
- cloud_firestore 3.1.10
- iPhone SE (2nd generation) シミュレータ
チュートリアル
Flutter プロジェクト作成
Org (組織) を指定し、Flutter プロジェクト作成。
BundleID の指定と勘違いしていたので firestoreManual はいらんかった。
flutter create firebase_manual --org com.runble1.firestoreManual
cd firebase_manual
プラグインを追加。
flutter pub add firebase_core
flutter pub add cloud_firestore
iOS の利用バージョンを上げておく。
vi Podfile
# platform :ios, '9.0'
platform :ios, '10.12'
Firebase プロジェクト準備
コンソールから手動で作る。

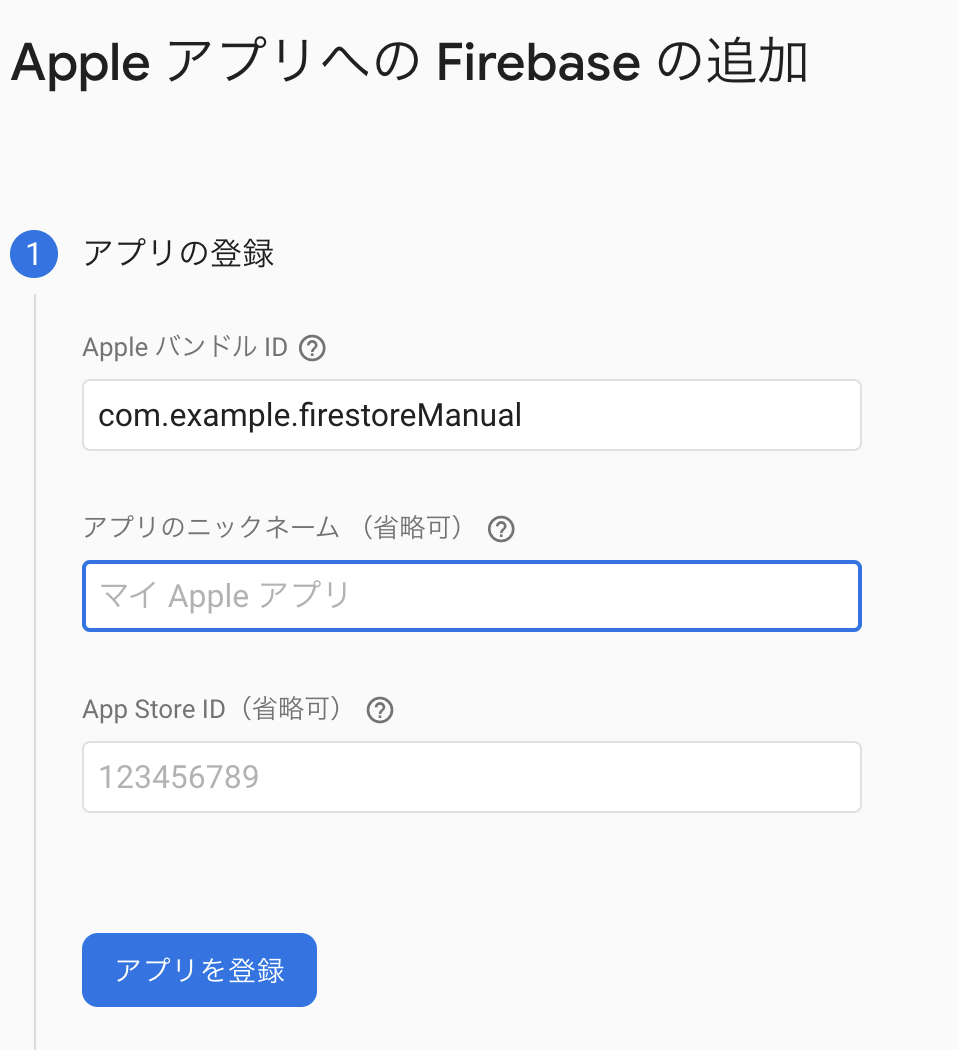
Firebase へ iOS アプリ登録
プロジェクト設定 → 全般 → マイアプリ → Apple アプリ → アプリを追加 を選択(激闘の跡が見える)。

BundleID (アプリを一意に識別するもの) を入れる必要がある。
Flutter アプリでは、以下に記述されている。
ios/Runner.xcodeproj/project.pbxprojファイル内PRODUCT_BUNDLE_IDENTIFIERの値
今回は指定した com.example.firestoreManual という IDを Firebase へ登録する。
(flutter create 時に何も指定しないと com.example.プロジェクト名 となる。)
ここ以外は全部次へでいい。
アプリが登録できたことを確認。
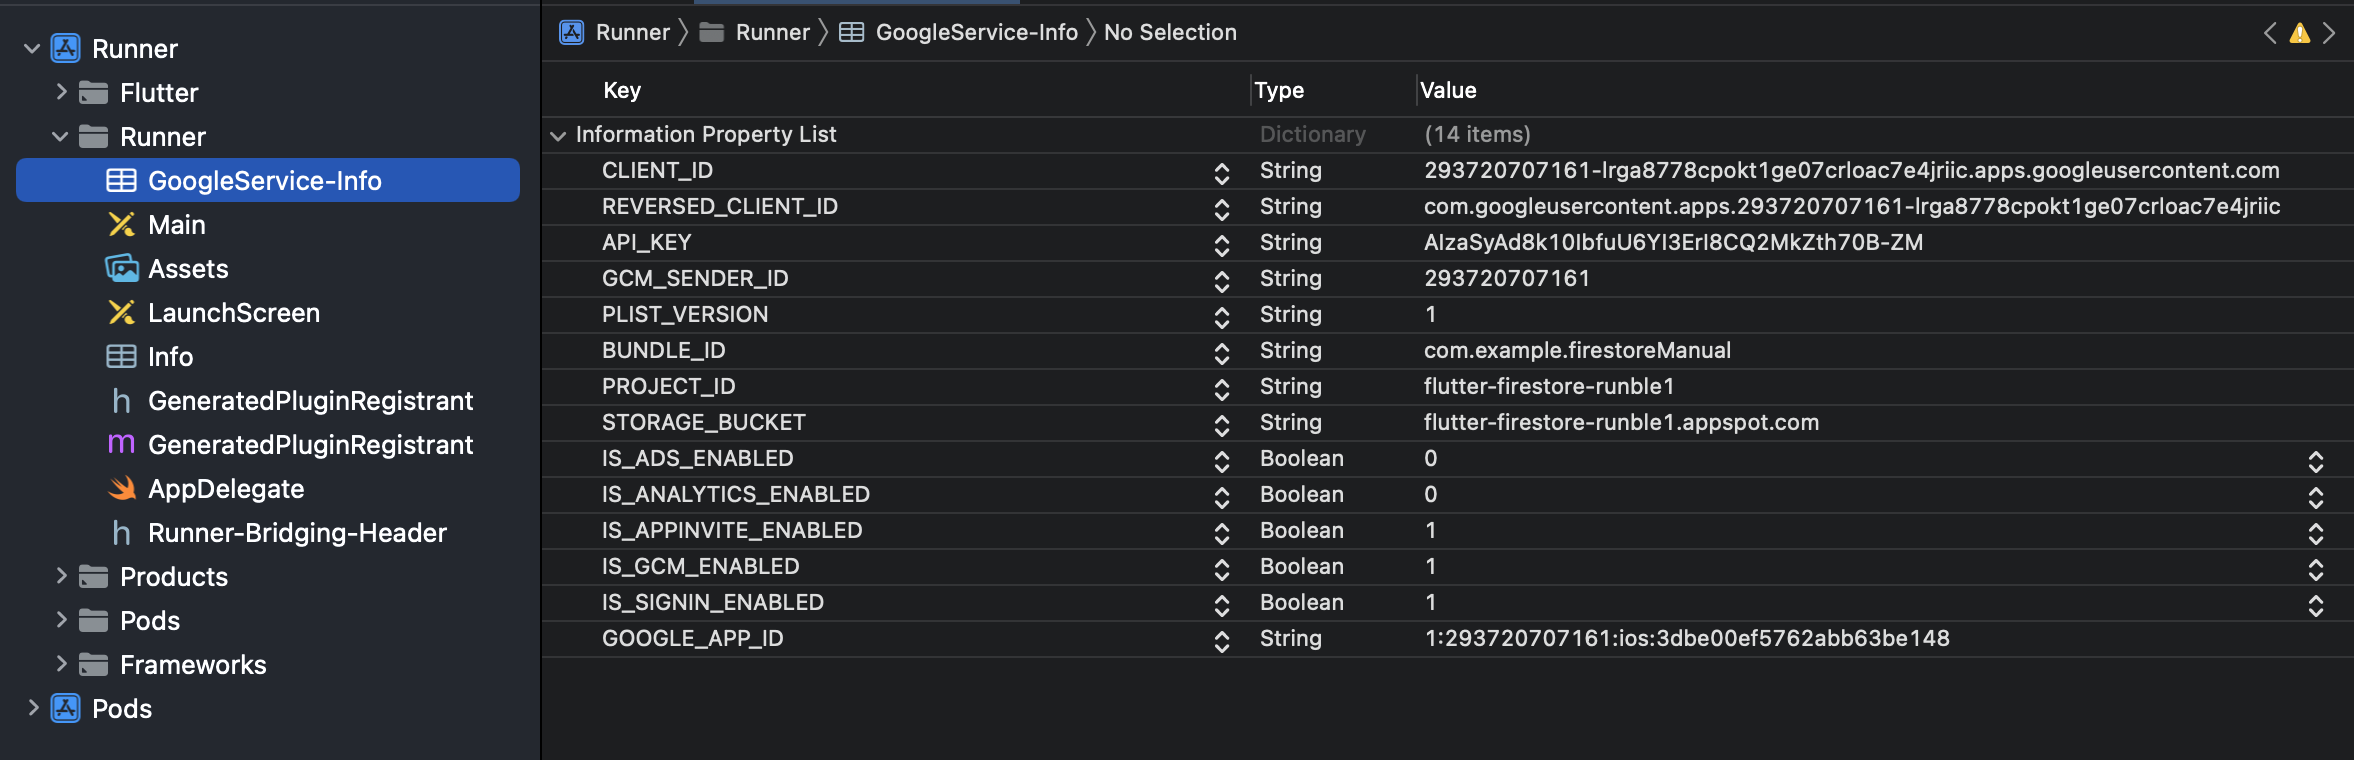
GoogleService-Info.plist をダウンロードしておく。

鬼門 : Firebase 構成ファイルを Flutter プロジェクトに追加
鬼門。
ダウンロードした GoogleService-Info.plist を Flutter プロジェクトに追加する。
公式ドキュメントには Xcode 使って移動しよろ、と書いてある。いやわかんねえよw
Xcode を使用して、Flutter アプリの
Flutter アプリに Firebase を追加するRunner/Runnerディレクトリにファイルを移動します。
Xcode をコンソールで開く方法。
cd ios
xed .
Finder で GoogleService-Info.plist があるフォルダを開き、以下の Xcode の Runner/Runnber ディレクトリへドロップアンドドロップで移動させた。
追加時にコンソール出るので Finish 。

Firesote データベース作成
Firestore データベースを作成する。
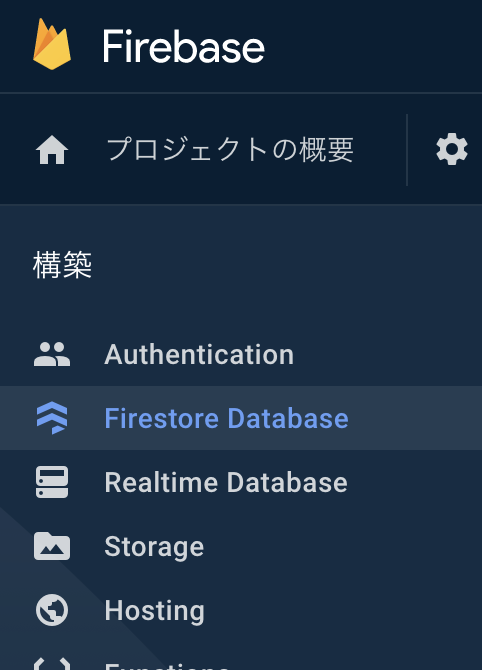
Firebase コンソールの左サイドバーから「Firestore Database」。
「データベースの作成」をクリック。

テストモードで作成する。
本番モードはこんな記事を見ているやつにはまだ早い。

「+コレクションを開始」より users コレクション作成。

データベースの作成完了。
データ追加のサンプルアプリ
カウンターアプリを改造し、Floating Action Button を押した場合、 users コレクションにデータが追加されるサンプル。汚いのは許して。
vi lib/main.dart
import 'package:flutter/material.dart';

import 'package:firebase_core/firebase_core.dart';
import 'package:cloud_firestore/cloud_firestore.dart';

void main() async {
  WidgetsFlutterBinding.ensureInitialized();
  await Firebase.initializeApp();
  runApp(MyApp());
}

class MyApp extends StatelessWidget {
  @override
  Widget build(BuildContext context) {
    return MaterialApp(
      title: 'Firestore Add Sample',
      home: FirestoreSave(),
    );
  }
}

class FirestoreSave extends StatefulWidget {
  @override
  _MyFirestorePageState createState() => _MyFirestorePageState();
}

class _MyFirestorePageState extends State<FirestoreSave> {
  @override
  Widget build(BuildContext context) {

    CollectionReference users = FirebaseFirestore.instance.collection('users');

    Future<void> addFirestoreUser() {
      // Call the user's CollectionReference to add a new user
      return users
          .add({
            'full_name': "fullName",
            'company': "company",
            'age': "age"
          })
          .then((value) => print("User Added"))
          .catchError((error) => print("Failed to add user: $error"));
    }

    return Scaffold(
      appBar: AppBar(
        title: Text("title"),
      ),
       body: Center(
        child: Column(
          mainAxisAlignment: MainAxisAlignment.center,
          children: <Widget>[
            const Text(
              'You have pushed the button this many times:',
            ),
            Text(
              'Body'
            ),
          ],
        ),
      ),
      floatingActionButton: FloatingActionButton(
        onPressed: addFirestoreUser,
        tooltip: 'Increment',
        child: const Icon(Icons.add),
      ),
    );
  }
}
起動・確認
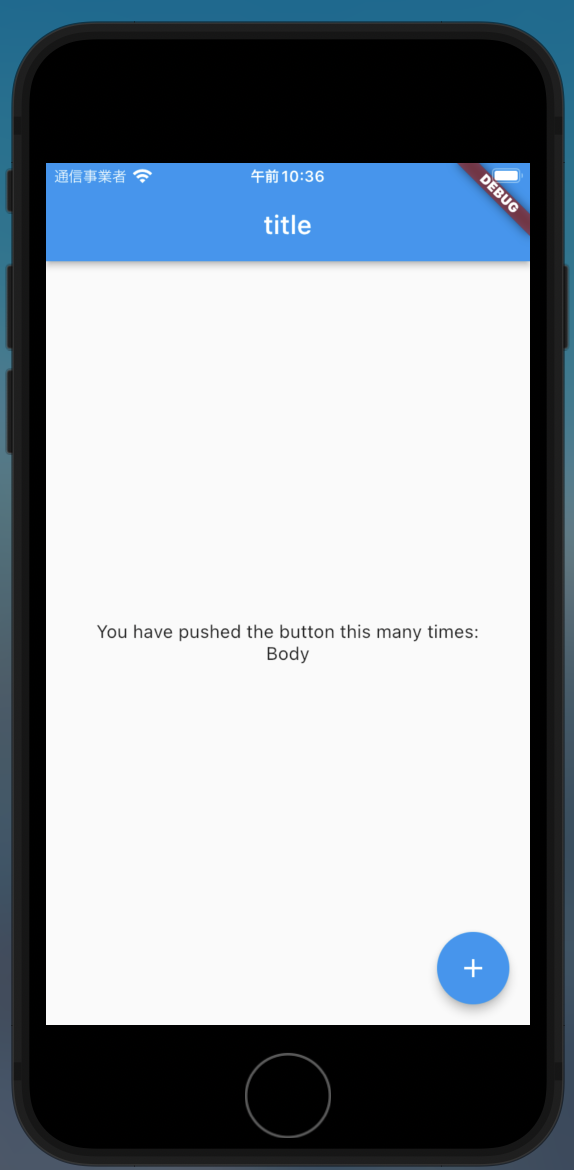
Flutter アプリを起動。
flutter run
いつもの画面が表示されるので、右下の Floating Action Button を押す。
コンソールには「flutter: User Added」と刻まれる。

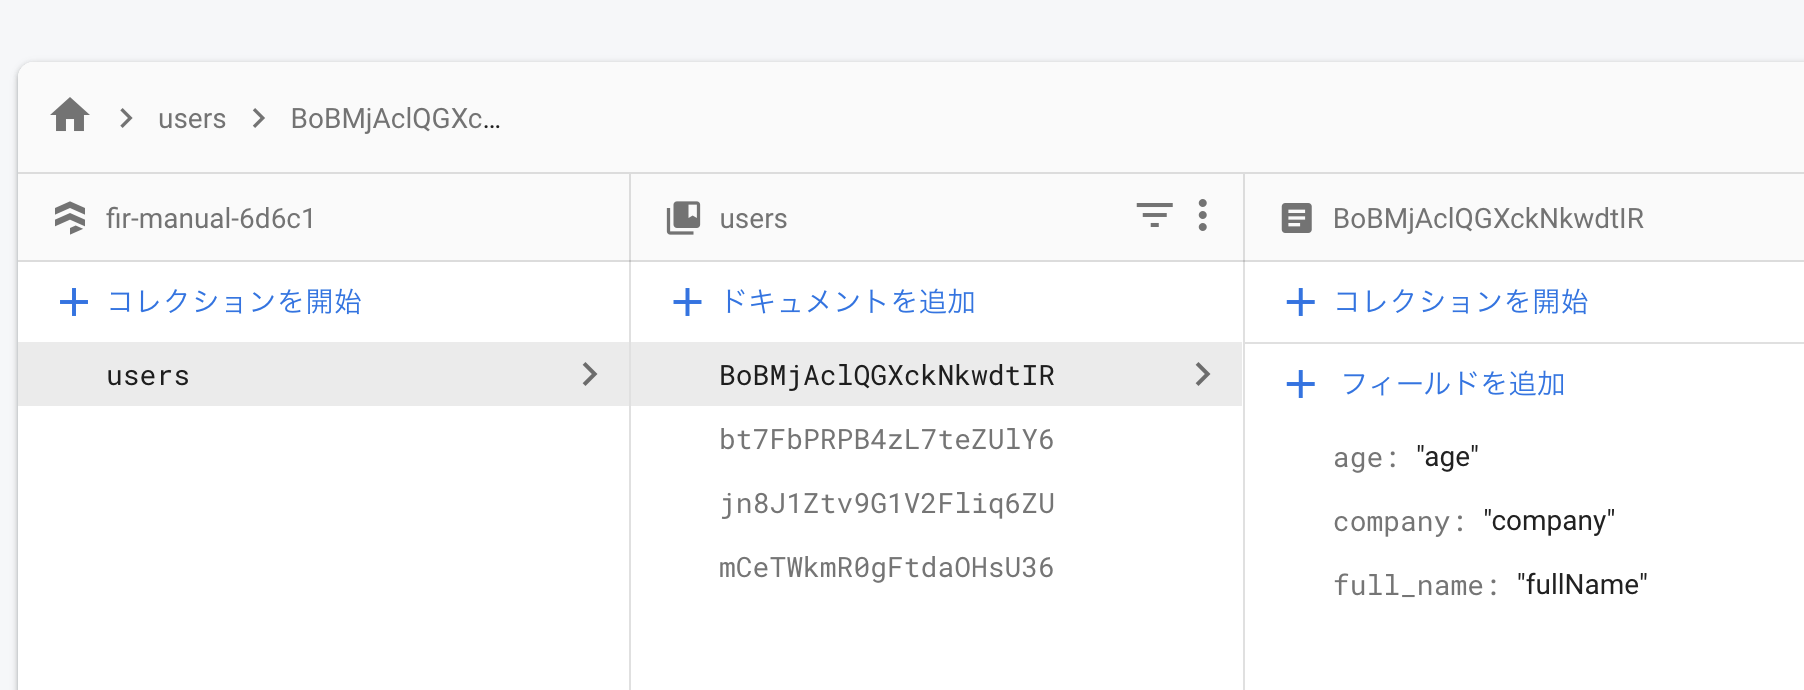
Firestore コンソールからもデータが追加されたことを確認!
まとめ
泣きながらコンソールより手動で Flutter Firebase 連携を行った。
次回は FlutterFire CLI からやる。
また、Firestore も本番モードへ移行していく。
エラー
FirebaseException ([core/not-initialized] Firebase has not been correctly initialized.
Firebase が正しく初期化されていないとエラー。
Exception has occurred.
FirebaseException ([core/not-initialized] Firebase has not been correctly initialized.

Usually this means you've attempted to use a Firebase service before calling `Firebase.initializeApp`.

View the documentation for more information: https://firebase.flutter.dev/docs/overview#initialization
    )
Xcode を利用しないで GoogleService-Info.plist を ios/Runner に移動した際に発生。
(気合を入れて) Xcode で移動させた後に出なくなった。(Firebase情報が認識されてなかった?)。
flutter: Failed to add user: [cloud_firestore/permission-denied] The caller does not have permission to execute the specified operation.
Firestore へのアクセス権がないパーミッションエラー。
Firestore を本番モードで作成した場合、セキュリティルールは下記となっている。
- 全ての read, write を拒否する
rules_version = '2';
service cloud.firestore {
    match /databases/{database}/documents {
        match /{document=**} {
          allow read, write: if false;
        }
    }
}
テストモードで作った場合のセキュリティルールに変更しておく。
- 2022年3月28日(作成から1ヶ月後)まで read, write 無制限
rules_version = '2';
service cloud.firestore {
    match /databases/{database}/documents {
        match /{document=**} {
          allow read, write: if
              request.time < timestamp.date(2022, 3, 28);
        }
    }
}
本番モードの Firestore へアクセスできない
認証ユーザ必須の場合でアクセスするセキュリティルールが下記。
rules_version = '2';

service cloud.firestore {
  match /databases/{database}/documents {
    match /{document=**} {
      allow read, write: if request.auth != null;
    }
  }
}
Firebase と連携した Flutter からならアクセスできると思っていた。できなかった。
テストモードから本番モードへ移行するのが今後の課題。
参考


コメント